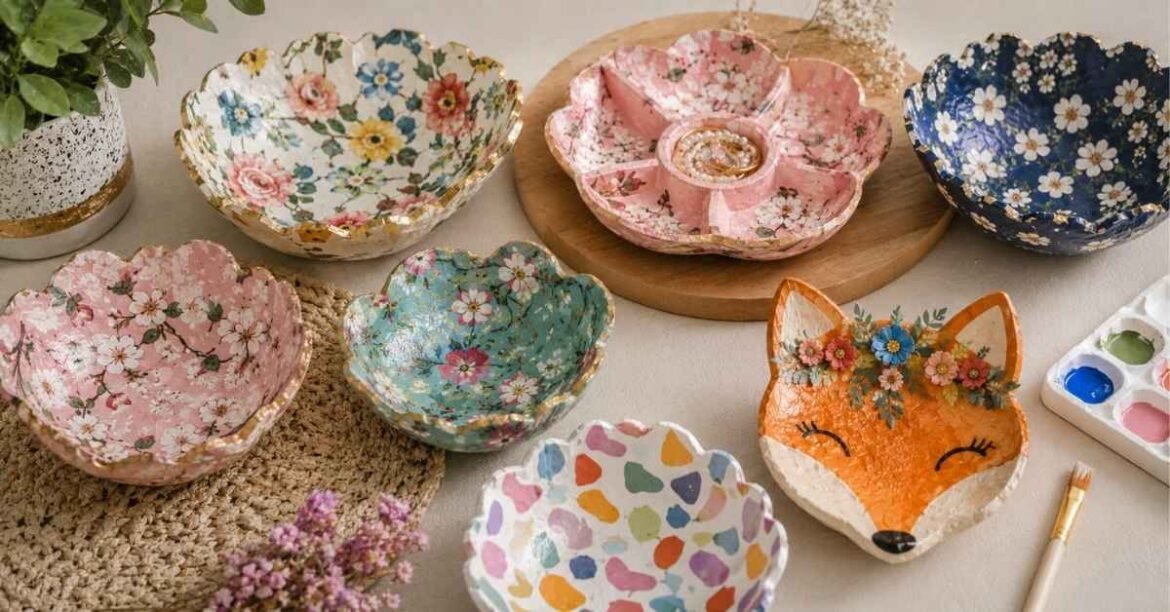
Discover 5 charming paper dish craft ideas for kids and adults. Learn how to transform simple paper plates into beautiful artwork today.
Introduction
For a long time, I treated simple paper supplies as purely disposable kitchen items meant for quick cleanups after casual meals. Everything changed when my daughter brought home a colorful handmade bowl made entirely from paper layers and craft glue. I realized that initiating a paper dish craft session is one of the most versatile and budget-friendly ways to unlock creative potential right in your own home.
In recent years, crafting with paper plates and papier-mache bases has become a wildly popular trend for all age groups. Engaging in a paper dish craft allows both kids and adults to build functional home decor, artistic wall displays, and customized storage containers. The round, sturdy structure of disposable dinnerware provides an accessible canvas for any artist, regardless of ability.
Finding the right balance between child-friendly fun and elegant adult crafting takes a little guidance and experimentation. Over the past year, I have tested dozens of techniques in my own home workspace. Today, I want to share five of my absolute favorite paper dish craft ideas along with practical tips to ensure your projects turn out sturdy and visually stunning.
1. Decorative Paper Mache Catchall Bowls
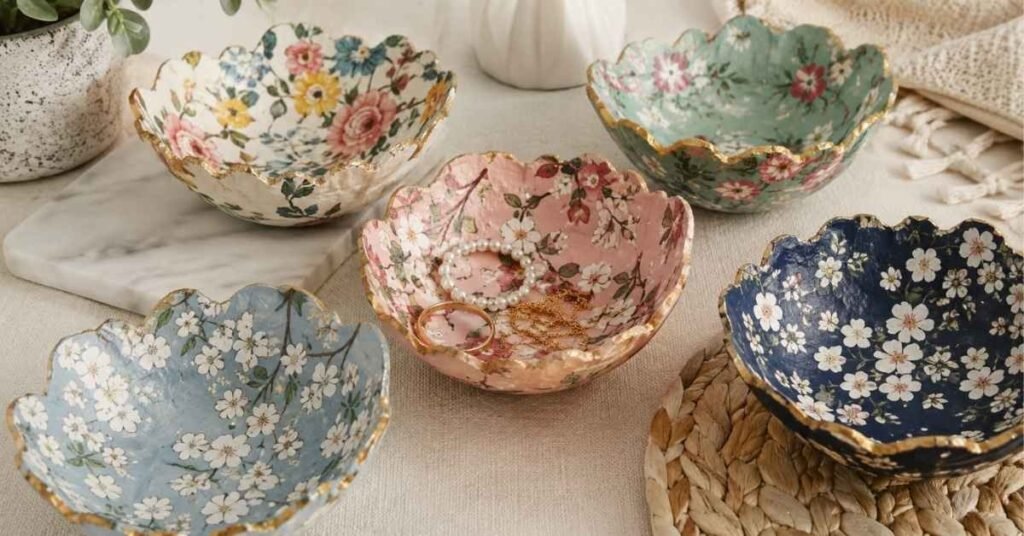
If you want to create an elegant centerpiece for your entryway console or bedside table, paper mache sculpting is an ideal place to start. Building this paper dish craft involves layering torn paper strips dipped in a simple flour-and-water mixture over a curved base mold. Once dried completely, the resulting piece becomes surprisingly rigid, durable, and lightweight.
When I made my first catchall bowl, I used an upside-down ceramic kitchen dish covered in protective plastic wrap as my mold shape. I applied three thin layers of newspaper strips, allowed the structure to dry overnight, and finished it with two coats of soft pastel acrylic paint. Displaying this paper dish craft on my vanity holds my daily rings and keys with artisanal charm.
2. Whimsical Animal Wreaths and Wall Masks
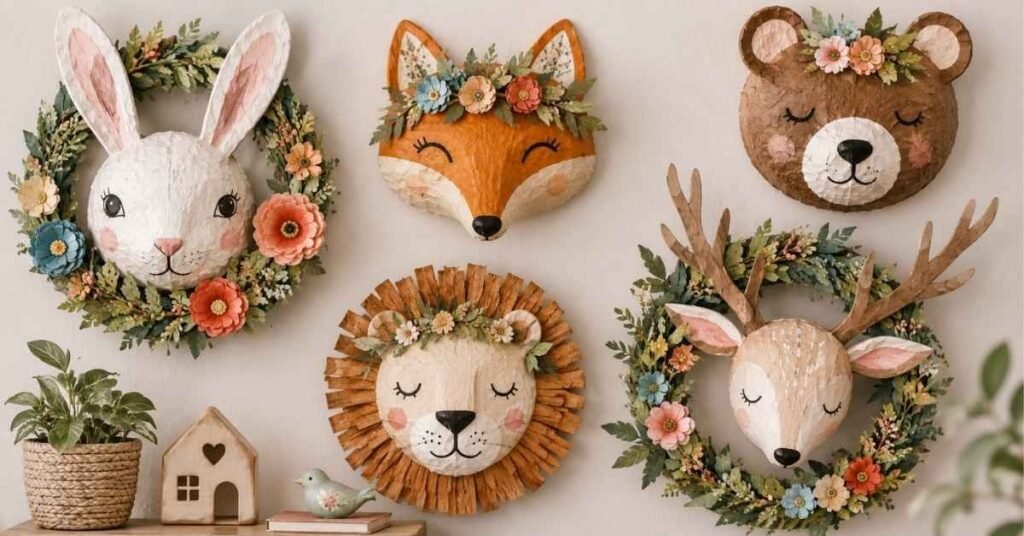
For families seeking interactive weekend activities, turning circular paper plates into animal faces and seasonal door wreaths brings immediate joy. Executing this paper dish craft requires cutting out central circles, gluing cardstock features, and painting vibrant facial details. Children love adding googly eyes, yarn manes, and felt ears to bring their favorite creatures to life.
I recently helped my niece construct a lion mask using a paper plate base surrounded by shredded yellow and orange tissue paper. We cut out small eye holes so she could wear it as a play mask, and installed a soft elastic string along the back. This playful paper dish craft keeps young imaginations active while teaching valuable motor skills through cutting and pasting.
3. Interlocking Folded Paper Dish Organizers
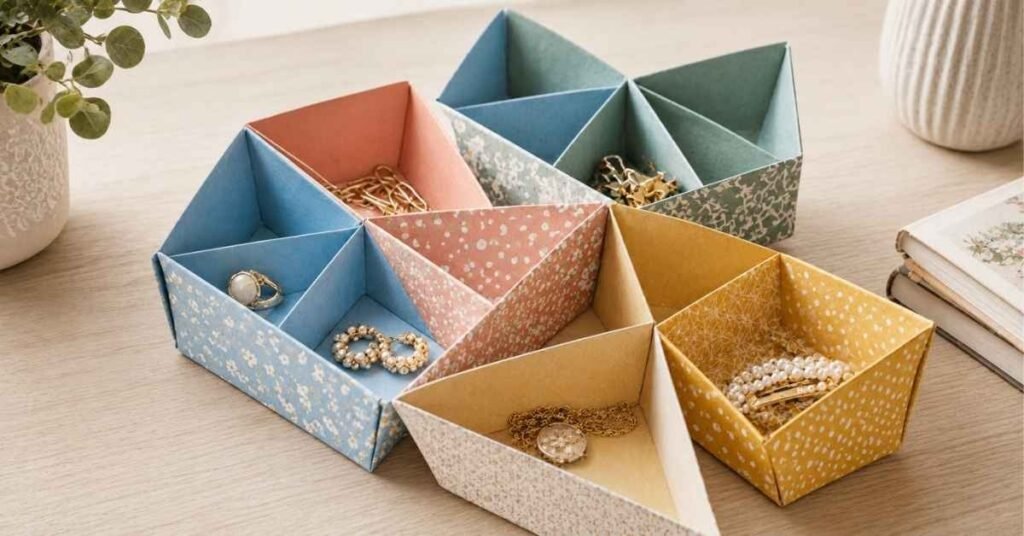
If you enjoy geometric design and functional desk organization, making folded paper trays offers a satisfying challenge. This clean paper dish craft uses thick cardstock plates that are measured, notched, and folded inward to form sturdy rectangular or square dividers. Overlapping the corner tabs creates neat compartments for holding paperclips, thumb tacks, and small office supplies.
My messy desk drawers in my home office were organized last month with a matching pastel set of organizers. By scoring the fold lines lightly with a ruler beforehand, the edges snapped into crisp, professional angles that look surprisingly modern. This organized paper dish craft proves that low-cost materials can solve everyday storage challenges with elegance and style.
4. Tissue Paper Suncatcher Dishes for Windows
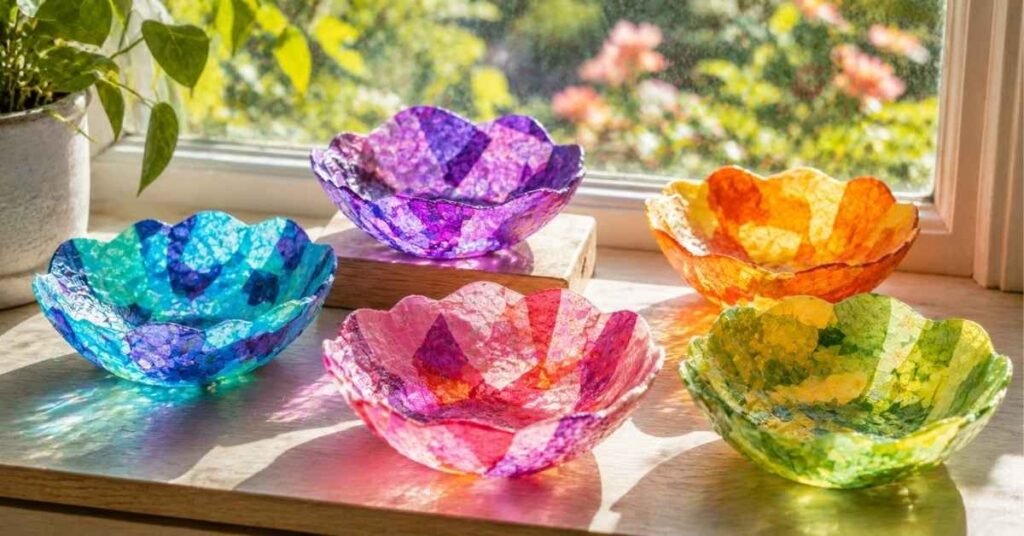
Bringing vibrant stained-glass effects into sunny rooms is remarkably easy when you use translucent materials. Creating this paper dish craft involves cutting out the central disc of a paper plate, leaving only the outer rim as a sturdy circular frame. You then press colorful tissue paper scraps onto clear adhesive contact paper stretched across the open center.
I hung three of these colorful disks in my kitchen window where the morning sunlight streams through every morning. The overlapping layers of pink, blue, and yellow tissue paper cast warm, glowing color patterns across my breakfast table. This quick paper dish craft is a fantastic rainy-day project that instantly brightens up any interior window space.
5. Hand-Painted Decorative Party Snack Trays
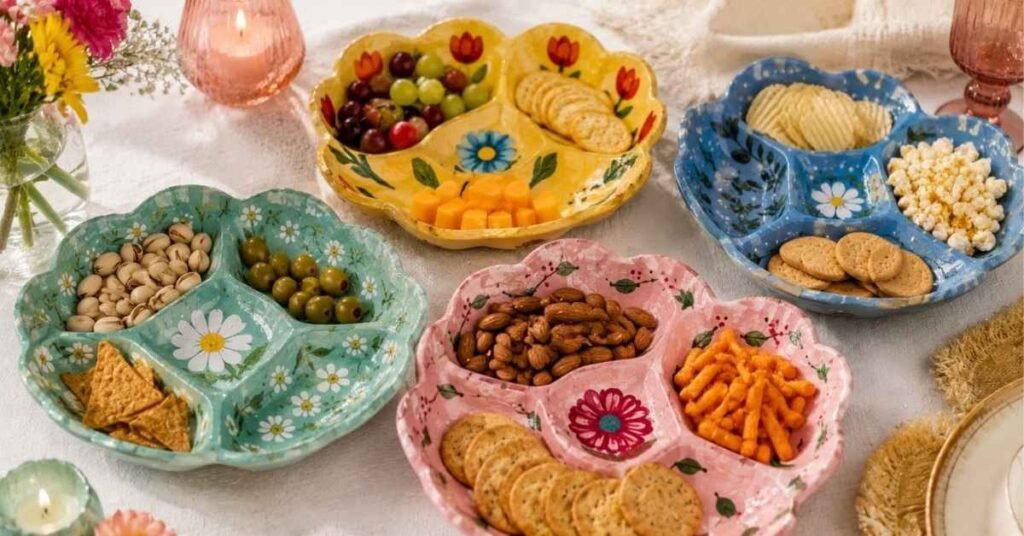
When hosting casual gatherings or festive celebrations, custom snack trays add a personal touch to your tablescape. Preparing this paper dish craft involves sealing plain paper plates with non-toxic primer before decorating them with hand-painted floral, citrus, or abstract motifs. Adding a glossy coat of food-safe sealer ensures the artistic surfaces stay protected against light dry snacks.
I painted a set of lemon-patterned serving trays for a backyard summer barbecue with my closest friends. Everyone commented on how charming the vibrant yellow patterns looked holding pretzels and mixed nuts on the picnic table. This decorative paper dish craft allows you to tailor your tableware perfectly to any party theme without spending a fortune on store-bought decor.
Crafting Style Comparison
To help you choose the best project for your skill level and available time, here is a quick overview of each method:
| Project Type | Primary Skill Level | Drying Time | Ideal Function |
| Paper Mache Bowls | Intermediate | 24 Hours | Jewelry catchall, decor bowl |
| Animal Wall Masks | Beginner (Kids) | 1 Hour | Play mask, nursery decor |
| Folded Organizers | Intermediate | Immediate | Desk storage, drawer dividers |
| Tissue Suncatchers | Beginner | Immediate | Window display, suncatcher |
| Painted Party Trays | Beginner to Advanced | 2 to 4 Hours | Party serving, party decor |
Essential Materials and Preparation Tips
The first step to starting any creative project is organizing your workspace properly. Setting up a dedicated station for your paper dish craft prevents accidental paint spills and keeps your tools easily accessible. I always cover my worktable with heavy craft paper or an old plastic tablecloth to protect surfaces from wet glue.
Having high-quality scissors, non-toxic craft glue, foam brushes, and acrylic paints ready speeds up your assembly time significantly. If you plan to build paper mache structures, mixing two parts water to one part white glue creates a smooth, lump-free paste. Preparing these basic supplies beforehand allows you to focus fully on enjoying your paper dish craft session.
Finishing and Sealing Techniques for Longevity
Unsealed paper projects are naturally vulnerable to moisture damage, tearing, and gradual color fading over time. Taking the extra step to protect your completed paper dish craft ensures your artwork remains beautiful and intact for years. Applying two thin coats of clear acrylic sealer or decoupage varnish provides a durable barrier against dust and humidity.
When sealing papier-mache or painted surfaces, allow the first coat to dry completely before brushing on the second layer. You can select a matte finish for a natural ceramic look, or choose a high-gloss glaze for brilliant shine. Using proper finishing methods elevates your paper dish craft from a temporary hobby into long-lasting home decor.
Final Thoughts
Engaging in creative hobbies does not require expensive tools or complicated techniques to achieve rewarding results. Embarking on a paper dish craft journey offers an accessible, delightful way to explore artistic expression using everyday household items. Transforming plain paper plates into functional bowls and vibrant wall art brings continuous joy to your home.
I encourage you to gather a few basic supplies and try one of these inspiring projects this week. Whether you craft solo during a quiet evening or assemble projects with family, the experience will refresh your creative spirit. Enjoy creating your own handmade paper dish craft masterpieces and sharing them with the people you love!
FAQs
1. What glue works best for a paper dish craft?
Using standard non-toxic PVA white glue diluted slightly with water works best forpapier-machee and general assembly. For quick structural bonds on heavy cardstock, a low-temperature hot glue gun provides immediate, strong support.
2. Can kids complete these paper dish craft projects independently?
Yes, simple projects like animal masks and tissue paper suncatchers are perfect for young children. However, papier-mache bowls and intricate folded organizers may require adult supervision for cutting and layering paste evenly.
3. How do I make papier-mache bowls extra sturdy?
To ensure your bowls are strong and rigid, apply at least three to four thin layers of paper strips. Allow each layer to dry thoroughly before adding the next to prevent trapped moisture from softening the structure.
4. Are painted paper dishes safe for serving food?
A painted paper plate should be used only for dry, pre-wrapped snacks unless it is lined with a food-grade paper. Never place wet or hot food directly onto acrylic paint or unsealed paper craft surfaces.
5. How can I remove papier-mache from a mold without sticking?
Covering your base mold with plastic cling wrap or a thin layer of petroleum jelly before applying paste prevents sticking. Once the paper layers dry completely, the finished bowl will slide off the mold smoothly.

With over 5 years of hands-on experience in the creative arts, I have turned my passion for DIY and home styling into a mission to inspire others. As the lead creator at UnboxTreats, I specialize in the fine details of paper crafting, yarn work, and artisanal candle making. I test every craft and decor trend to ensure you get only the most reliable and creative advice for your home.