
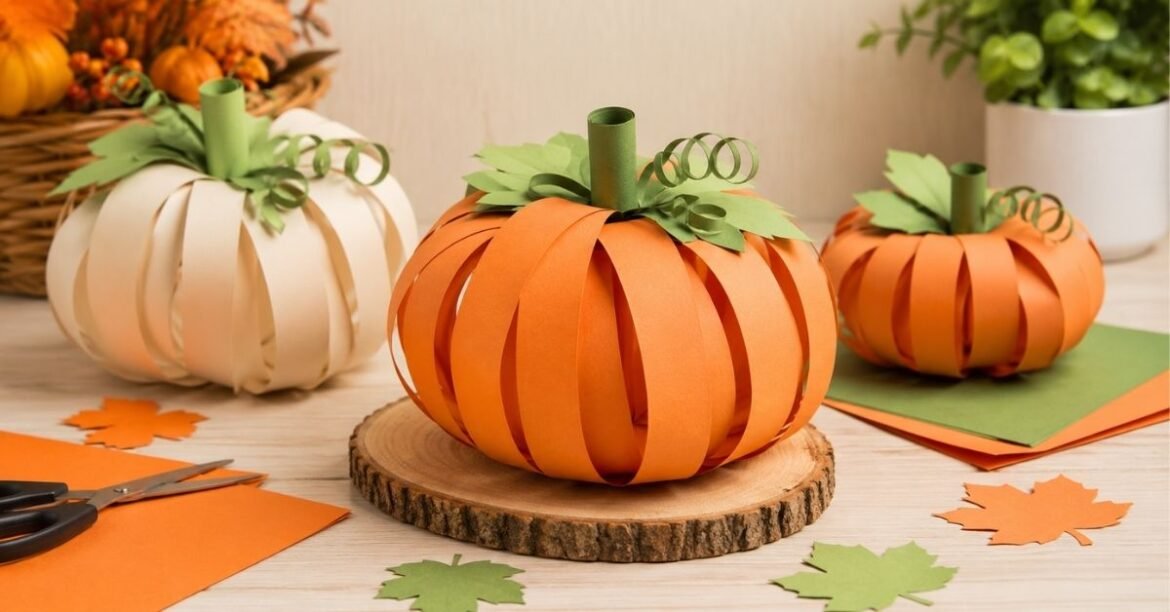
I show you 7 easy paper pumpkin craft ideas — perfect for kids & beginners. Try these adorable fall DIYs and decorate your home beautifully!
Introduction
Every autumn, when the air turns crisp and the leaves shift to gold, I feel an unstoppable urge to fill my home with handmade seasonal decor. And nothing captures that cozy fall spirit quite like a paper pumpkin craft. The beauty of working with paper is how accessible it is — no kiln, no expensive supplies, no artistic talent required. Whether I am crafting with my toddler on a rainy Tuesday or setting up a classroom Halloween activity, a paper pumpkin craft never fails to deliver big results from the simplest materials.
In this guide, I am walking you through everything I have personally tried and loved, from classic paper-weaving techniques to shape-collage pumpkins you can make with kids as young as 2 years old. These are the techniques that genuinely work, and they are so beginner-friendly that you will wonder why you waited so long to try one.
Why I Love a Paper Pumpkin Craft
Before I dive into the actual tutorials, I want to share why I keep coming back to this particular project every single year. A paper pumpkin craft is one of those rare activities that works beautifully at every level. A toddler can tear and glue shapes onto a pre-cut pumpkin. A preschooler can practice cutting and sorting. An older child can weave intricate patterns and design an entire jack-o’-lantern face from scratch. And honestly? I find the process just as meditative and satisfying as any adult craft I have ever tried.
Beyond the developmental benefits for kids, these crafts are genuinely low-mess compared to painting or sensory play. I can pull the supplies out on a moment’s notice and set up an inviting little art station with nothing more than paper, scissors, and glue. When the activity is done, the results are beautiful enough to hang on the door, display on the mantel, or bring to a class party. That versatility is exactly why a paper pumpkin craft has become an annual tradition in my house.
What You Will Need
The most exciting part of a paper pumpkin craft is how minimal the supply list truly is. My two main techniques are as follows:
| Material | Purpose | Notes |
| Orange construction paper | Pumpkin body | Cardstock works even better |
| Black construction paper | Jack-o’-lantern features or shapes | Any dark color works |
| Green construction paper | Stem, leaves, and vines | Pipe cleaners also work |
| Patterned or colored paper | Weaving strips | Fall-themed patterns look stunning |
| Scissors | Cutting slits and strips | A paper puncher is great for shapes |
| Glue or glue stick | Assembling the craft | White school glue or a glue stick |
| Markers | Adding facial details | Optional but fun |
That is truly the entire list. No specialist craft store run required. Most of these materials are likely already sitting in a drawer somewhere in your home.
Technique 1: The Paper Weaving Pumpkin Craft
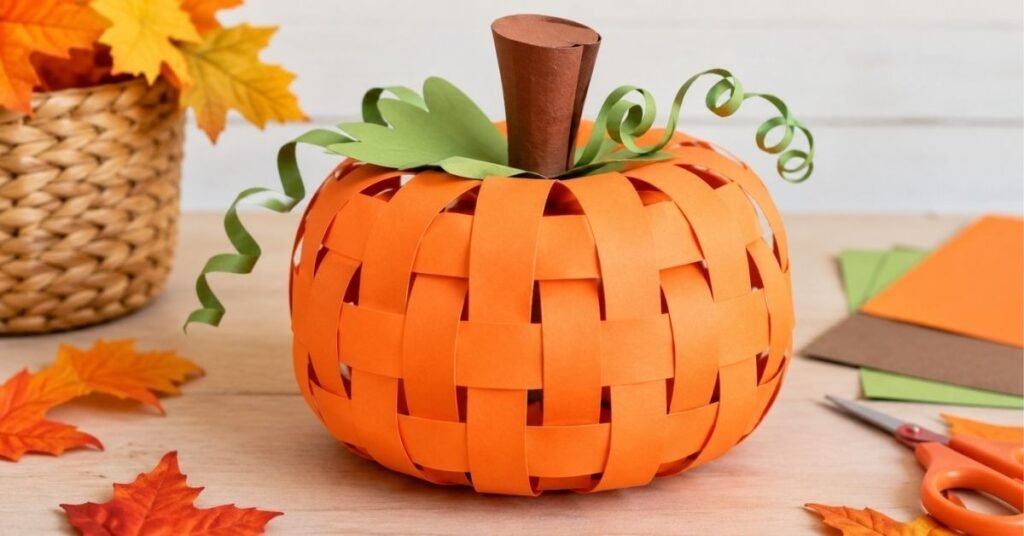
This is my all-time favorite version of the paper pumpkin craft, and it has been a beloved activity in our home since I first tried it years ago. The woven texture gives the finished pumpkin a gorgeous visual depth that looks far more complex than the actual process. I will show you exactly how I do it, step by step.
Step 1 — Cut Your Weaving Strips
Start by cutting a generous stack of paper strips. I usually cut mine about 1.5 inches wide, but any width works beautifully. For the most visually striking result, I use patterned paper in warm fall colors — burnt oranges, mustard yellows, deep burgundies. Solid-colored construction paper works just as well if you do not have patterned paper on hand.
Step 2 — Draw and Cut Your Pumpkin Shape
On a large sheet of orange construction paper, draw a big, round pumpkin shape and cut it out. Do not worry about making it perfect — a slightly wonky pumpkin has its own charm. The bigger you cut it, the more room you have to weave, so I always err on the side of larger.
Step 3 — Cut the Weaving Slits
This is the step that transforms the pumpkin into a loom. Fold the pumpkin shape in half, then use your scissors to cut horizontal slits across the paper. Start each cut at the folded edge and stop at least one inch before you reach the open edge of the paper. If you cut all the way to the edge, the pumpkin will fall apart. You can cut perfectly straight slits, or make them wavy and zigzagged for extra visual interest. Then unfold the pumpkin, and you are ready to weave.
Step 4 — Weave the Strips
This is where the paper pumpkin craft becomes truly meditative and satisfying. Take your first strip and weave it over and then under each slit alternately across the full width of the pumpkin. Start with the next strip and go under first, then over. Continuing this alternating pattern creates that classic woven checkerboard effect. Keep going until the entire pumpkin is filled with colorful, woven strips.
I found that I sometimes needed to cut thinner strips toward the edges of the pumpkin where the curved shape narrows. Do not be afraid to adjust the strip widths as you go to get a perfect, snug fit.
Step 5 — Glue and Trim
Once the weaving is complete and you have arranged all the strips exactly as you like them, secure every loose end with a tiny drop of glue — on the top and bottom, on both the front and back sides. Allow everything to dry completely before the next step. Once dry, use your scissors to carefully trim away any strips that extend beyond the pumpkin’s edge.
Step 6 — Add the Finishing Touches
Now comes the most fun part of this paper pumpkin craft. Cut a small stem shape from green or brown paper and glue it to the top of the pumpkin. Add curling paper vines, a few leaf shapes, or even a simple jack-o’-lantern face made from black paper. The woven body looks so striking against the graphic black features. I have genuinely displayed an entire patch of these on my mantelpiece, and every single person who visits asks how I made them.
Technique 2: The Shape Collage Paper Pumpkin Craft
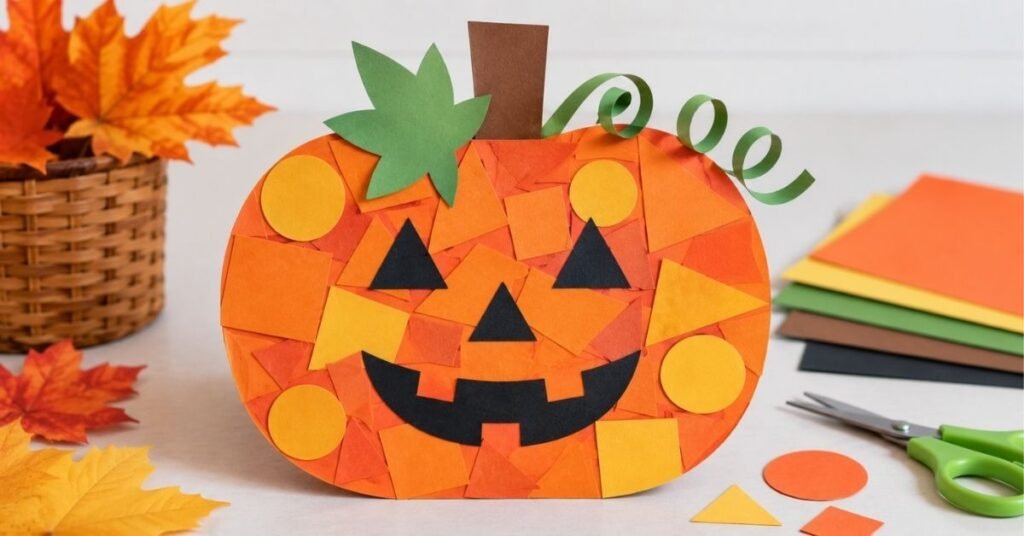
This second method is the one I reach for when I am crafting with my youngest. It is a wonderful paper pumpkin craft for children ages 2 and up that incorporates early learning concepts like shape recognition and sorting into a creative Halloween activity.
Step 1 — Cut Out the Shapes
From black construction paper, cut out a variety of simple geometric shapes — circles, squares, and triangles are perfect. The shapes do not need to be geometrically precise. If your child is old enough, let them trace and cut the shapes themselves. Older children can also use a paper puncher to create uniform, crisp shapes, which is genuinely one of the most satisfying steps in this entire paper pumpkin craft process. You can even show children how cutting a square diagonally creates two triangles — a lovely little geometry lesson hidden inside a craft.
Step 2 — Draw the Pumpkin and Sort the Shapes
Pre-draw a large pumpkin shape on orange construction paper, or cut one out in advance for younger children. Before gluing anything, draw a small matching shape on the stem of each pumpkin — a circle on one stem, a triangle on another. Then invite your child to sort the shapes by matching them to the right pumpkin. This builds early math and cognitive skills while keeping the activity firmly in the realm of creative play.
Step 3 — Glue and Create
Now, let the creativity take over. Younger toddlers will love this paper pumpkin craft simply for the sensory experience of spreading glue. Older children can arrange the shapes intentionally to create a jack-o’-lantern face — triangle eyes, a square nose, a circle smile. The approach here is genuinely right. Some children will make a perfectly composed face; others will create an abstract, joyful collage. Both are equally beautiful.
Step 4 — Display with Pride
Once the glue has dried, hang the finished paper pumpkin craft on the front door, tape it to a window, or string several together into a Halloween banner. The pride children feel when their work is displayed for everyone to see is one of my absolute favorite parts of any kids’ craft project. These pumpkins look genuinely festive and warm, and they cost almost nothing to make.
Creative Variations to Try This Fall
Once you have mastered the two core techniques above, there are so many creative directions you can take your paper pumpkin craft next. Here are some of my favorite variations:
- Watercolor Wash Pumpkins: Instead of orange construction paper, use white paper for the pumpkin body and let children paint it with orange and yellow watercolors before weaving or collaging.
- Glow-in-the-Dark Pumpkins: Cut the pumpkin from black cardstock and use neon or metallic paper strips for weaving. When placed near a light source, these look spectacular.
- Mixed Media Pumpkins: Combine the weaving technique with tissue paper, fabric scraps, or washi tape strips for a richly textured paper pumpkin craft that looks genuinely artisanal.
- Accordion Fold Pumpkins: Cut a long strip of orange paper and fold it accordion-style, then pinch and tape the ends together to create a three-dimensional pumpkin form. Add a green pipe cleaner stem and curled vines for an impressive display piece.
- Monochrome Pumpkins: Use only one color family — various shades of orange, amber, and rust — for an elegant, cohesive aesthetic that looks stunning displayed alongside real gourds and candles.
Tips for Setting Up the Perfect Craft Station
Over the years, I have learned that the setup matters just as much as the craft itself when you are working with children. For a smooth, enjoyable paper pumpkin craft session, here is what I always do.
First, I pre-cut the pumpkin shapes before the children sit down. The anticipation of seeing the pumpkin template already waiting for them instantly generates excitement. Second, I lay out a variety of paper strip colors and patterns and let each child choose their own. Ownership over the color choices makes children far more engaged and proud of their final result. Third, I always have a damp cloth nearby — not for mess, but for sticky glue fingers that inevitably interfere with weaving precision. Finally, for younger children, I pre-cut the slits in the pumpkin before the session begins. Watching a child successfully weave their very first strip over and under is one of those small, ordinary moments that I genuinely treasure.
How to Display Your Finished Paper Pumpkin Craft
Part of what makes this paper pumpkin craft so rewarding is that the finished product is genuinely beautiful enough to display. Here are my favorite ways to show off the results:
- Arrange a whole “patch” of woven pumpkins across a mantelpiece, varying sizes from small to large
- Tape shape-collage pumpkins directly onto a glass front door,r where they glow beautifully when backlit
- String multiple pumpkins together with twine into a festive Halloween garland
- Frame a particularly striking woven pumpkin in a simple wooden frame as a seasonal piece of wall art
- Bundle several pumpkins together with real autumn leaves for a mixed natural-and-paper fall centerpiece
Final Thoughts
A paper pumpkin craft is one of those rare, perfect activities that manages to be creative, educational, affordable, and genuinely festive all at once. Whether you are weaving intricate patterns with patterned scrapbook paper or helping a toddler press geometric shapes onto a pre-cut pumpkin body, the process is just as enjoyable as the result. As a result of this craft, I’ve worked with children as young as two and adults as old as my grandmother, and everyone comes away with something they’re proud of.
This autumn, I encourage you to clear a little space at the kitchen table, pull out the construction paper and the scissors, and give this paper pumpkin craft a proper try. I promise you — the results will be adorable enough to display all season long.
FAQs
What age is a paper pumpkin craft suitable for?
A paper pumpkin craft is genuinely suitable for all ages. Toddlers as young as two can participate in the gluing and shape-sorting version, while older children and adults will love the precision and creativity of the paper weaving technique.
Do I need special paper for a paper pumpkin craft?
Not at all. Standard construction paper and scissors are completely sufficient. However, using patterned scrapbook paper for the weaving strips takes the finished look to a whole new level.
How long does a paper pumpkin craft take to complete?
The shape collage version takes about 20–30 minutes. The weaving version can take 30–60 minutes,s depending on the size of the pumpkin and the child’s age, but it never feels rushed — the weaving itself is wonderfully calming.
Can I make a 3D paper pumpkin craft?
Yes! The accordion fold variation I mentioned creates a beautiful three-dimensional pumpkin. You can also stuff a flat paper pumpkin outline with crumpled tissue paper and staple the edges for a puffy, dimensional effect.
How do I display a paper pumpkin craft without damaging the walls?
I always use painter’s tape or removable adhesive strips to display a paper pumpkin craft on walls or doors. They hold securely during the season and come down cleanly without leaving any marks behind.

With over 5 years of hands-on experience in the creative arts, I have turned my passion for DIY and home styling into a mission to inspire others. As the lead creator at UnboxTreats, I specialize in the fine details of paper crafting, yarn work, and artisanal candle making. I test every craft and decor trend to ensure you get only the most reliable and creative advice for your home.