
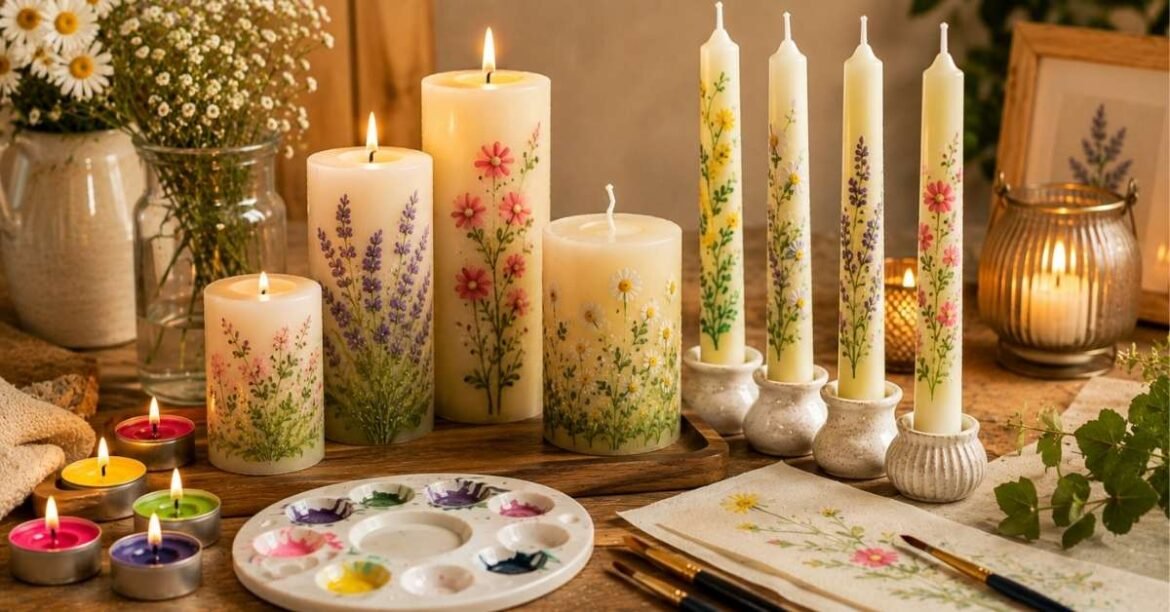
Want to try candle painting? Here are 5 safe, gorgeous secrets to craft beautifully painted candles at home. Click to start DIYing!
Introduction
When the evenings start drawing in early, I am always on the lookout for cozy activities to brighten up my living space. Last winter, I fell completely in love with a viral DIY trend that looked almost too pretty to burn. That lovely obsession was candle painting, and it has quickly become my absolute favorite way to personalize my home.
It is amazing how a simple pack of plain tapers can be transformed into a stunning set of custom tabletop decorations. Whether you want to add a splash of color to your dining table or craft a unique handmade gift for a friend, this hobby offers endless creative freedom. Today, I am sharing everything I have learned about candle painting so you can dive in safely and confidently.
Safety First: Burn-Safe vs. Decorative Techniques
Before you pick up a paintbrush, we need to talk about the most important aspect of this craft: burning safety. I see a lot of tutorials online showing creators using standard acrylic paint directly on wax tapers. While this is fine for decorative pieces you never light, burning acrylic paint can release toxic fumes into your home. This is why I always prioritize safety and choose specific materials for my functional candle painting projects.
If you want to actually light your creations, painting with colored melted wax is the gold standard method. Because you are adding wax to wax, the candle remains completely clean and safe to burn down. For decorative-only display pieces, you can try acrylic candle painting using non-toxic, water-based paint. Just remember to keep any acrylic paint far away from the wick to prevent unexpected flare-ups.
Essential Supplies for Your Craft Space
Setting up your workspace for candle painting is incredibly simple and requires only a few basic tools. I like to gather all my supplies on a large sheet of parchment paper to protect my table from wax drips. Having everything organized beforehand ensures that my melted wax does not cool down too quickly while I work. Here is a breakdown of what I keep in my crafting toolkit for a successful session.
I have created a simple guide to help you choose the best supplies based on your goals. Whether you want a functional light or a purely decorative accent, the right tools make a massive difference. Here is a quick comparison of the two primary ways to approach candle painting at home. Understanding these differences will ensure your crafting process is both fun and safe.
| Feature | Melted Wax Method (Burn-Safe) | Acrylic Paint Method (Decorative Only) |
| Best For | Tapers you plan to burn | Pillar display candles |
| Material | Colored tea lights or wax pens | Non-toxic acrylic paint |
| Medium | Melted wax pool | Water or paint medium |
| Texture | Raised, tactile designs | Smooth, flat details |
| Safety | 100% safe to light | Non-toxic but fumes if burned |
How to Paint with Wax: Step-by-Step
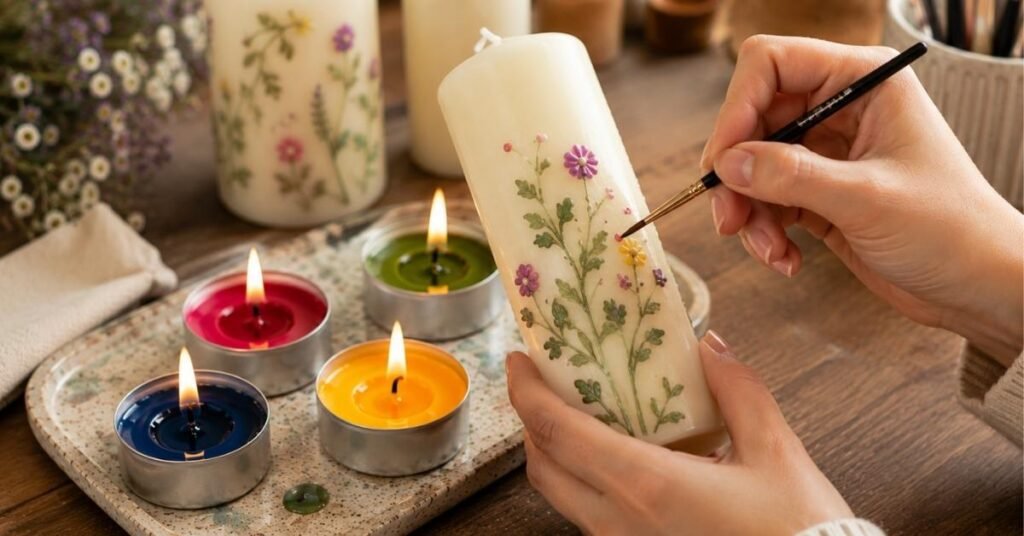
Let’s walk through the steps for the burn-safe wax method, which is my absolute favorite way to create. First, I light a few colored tea candles and let them burn until a small pool of liquid wax forms. Then, I quickly dip a fine-tipped synthetic paintbrush into the warm liquid and apply it to my main candle. Because the wax hardens almost instantly upon contact, this style of candle painting requires a steady hand and quick movements.
If the wax begins to clump on your bristles, simply dip the brush back into the warm pool to melt it down again. I highly recommend working in very small sections so you do not rush your designs. With this candle painting technique, you get a beautiful, raised texture that looks incredibly artisanal. It is the perfect way to create dainty wildflowers, classic holiday vines, or simple abstract patterns.
Working with Acrylics for Display Pieces
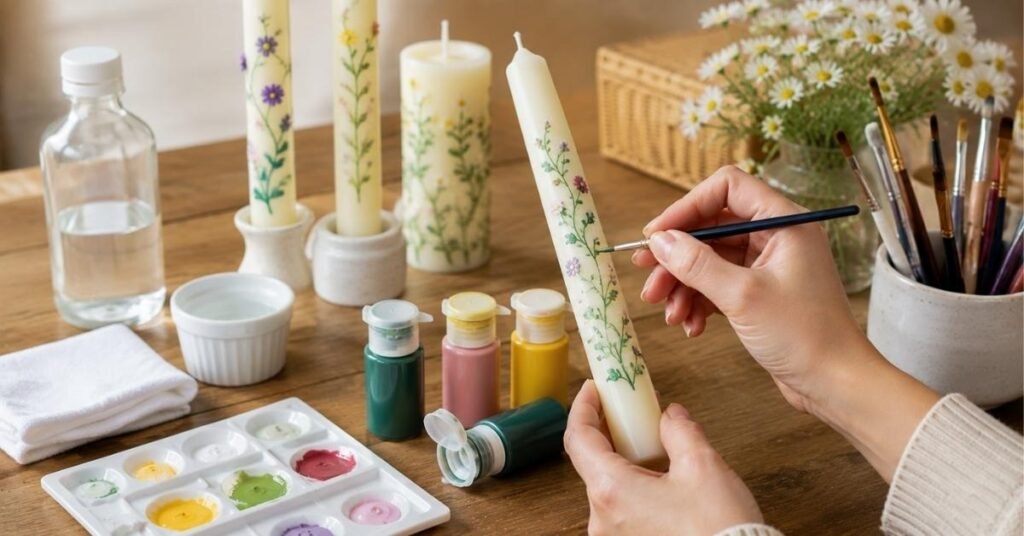
If you decide to try candle painting purely for home styling and never plan to light the wick, acrylics are wonderful. I always start by wiping down the surface of the candle with a lint-free cloth and rubbing alcohol to remove any oily residue. Mixing a drop of water or liquid dish soap into your acrylic paint helps it adhere smoothly to the slick wax. Keep your paint layers thin to prevent the design from peeling or cracking as it dries.
When it comes to choosing your candle painting designs, simplicity is often the key to a professional finish. Personally, I love painting delicate green vines wrapping around cream-colored taper candles for a botanical touch. Tiny pastel daisies are another beginner-friendly option that adds an instant pop of spring cheer to any room. If you feel less confident in your freehand drawing, geometric stripes or simple dot patterns look remarkably chic.
Once your candle painting masterpiece is complete, you want to make sure it stays looking beautiful for as long as possible. I always store my painted candles in a cool, dry place away from direct sunlight to prevent the wax from softening. If you used the acrylic method, handle the candles gently by the base to avoid scratching the painted surface. A light dusting with a soft microfiber cloth once a week is all they need to stay pristine.
Wrapping Up
Bringing a touch of handmade charm into your home has never been easier than with candle painting. It is a wonderfully relaxing way to spend a rainy afternoon, and the finished pieces bring so much character to a space. Whether you are hosting a dinner party or decorating your mantel, these custom creations are sure to spark conversation. I hope this guide inspires you to grab some tapers and start your own colorful journey today.
FAQs
Is it safe to burn painted candles?
It is only safe to burn them if you painted the designs using colored wax. Acrylic paint is not formulated for combustion and can release toxic fumes when lit. If you used acrylic paint, you should keep the candle purely for decorative display.
What paint is best for decorative candle painting?
Non-toxic, water-based acrylic paint is the best option for purely decorative candles. You can mix it with a tiny drop of liquid soap to help the paint stick to the waxy surface. Just make sure to apply thin coats so the design does not crack as it dries.
How do I melt the wax to paint candles?
The easiest way is to light a colored tea light candle and let a pool of liquid wax accumulate. You can then dip your paintbrush directly into that warm pool of wax. Work quickly because the melted wax will harden on your brush in just a few seconds.
Can I use normal paintbrushes for wax painting?
Yes, simple synthetic paintbrushes with firm bristles work beautifully for this technique. Avoid using expensive natural hair brushes because the hot wax can damage the delicate fibers. Keep a cup of warm water nearby to help clean the brush if needed.
How do I keep the paint from peeling off the wax?
You should clean the candle surface with rubbing alcohol before you begin to remove any oils. Mixing a drop of water or multi-surface medium into your paint also improves adhesion. Finally, apply a thin clear sealer coat if you want extra protection for display.
Window Candles: 5 Beautiful Secrets for Magic Homes
Votive Candle Holders: 7 Magical Tips for a Radiant Glow

With over 5 years of hands-on experience in the creative arts, I have turned my passion for DIY and home styling into a mission to inspire others. As the lead creator at UnboxTreats, I specialize in the fine details of paper crafting, yarn work, and artisanal candle making. I test every craft and decor trend to ensure you get only the most reliable and creative advice for your home.