Choosing the correct candle wick ensures a steady flame, a perfect melt pool, and a superior fragrance throw for your handmade projects.
The Mechanical Science of Capillary Action
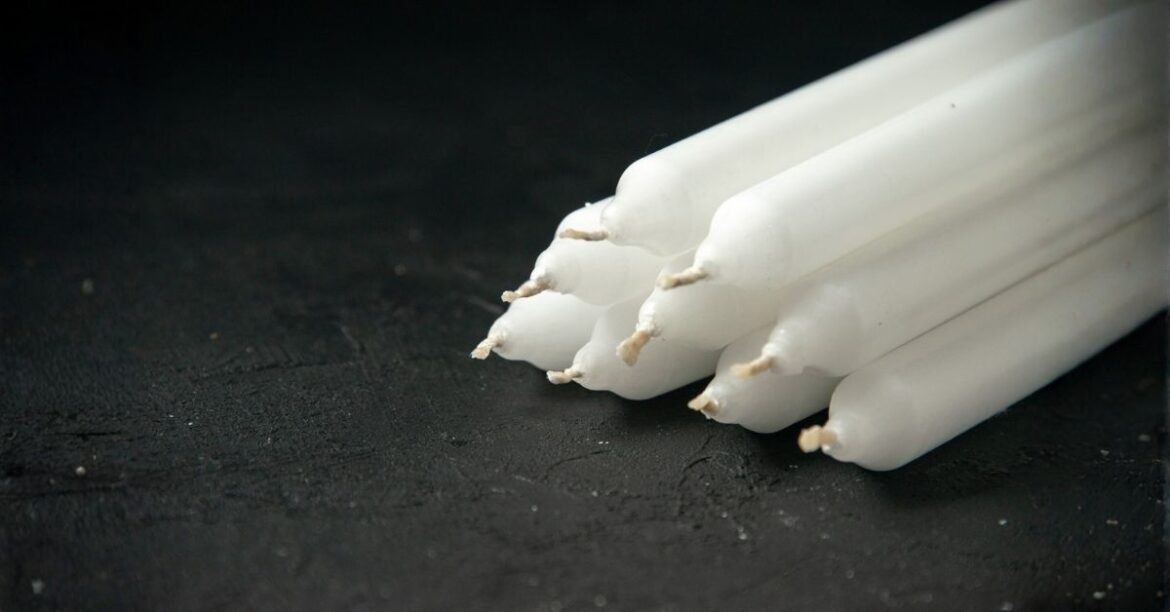
The candle wick is often called the “engine” of the candle because it is responsible for delivering liquid fuel to the flame. Through a process known as capillary action, the braided fibers of the wick draw up the melted wax, where it is then vaporized and combusted to produce light and heat.
Selecting a candle wick that matches your specific wax type and container diameter is the most important step in the manufacturing process for you. If the wick is too small, it will result in “tunneling,” where a hole forms down the center of the wax, leaving a large amount of unburned fuel on the sides of the jar.
Conversely, a candle wick that is too large for the vessel will produce a flame that is too hot, leading to excessive soot and potentially causing the glass container to crack. Finding the perfect balance ensures that you achieve a full melt pool—where the liquid wax reaches the edges of the container—within two to four hours of lighting.
Properly preparing your candle wick involves trimming it to about a quarter of an inch before every single use to prevent “mushrooming,” which is a buildup of carbon at the tip. This simple maintenance step ensures that the flame remains stable and does not flicker or produce unwanted smoke during your evening relaxation.
Diverse Wick Types and Material Benefits
When you are exploring the market for a candle wick, you will find several different materials, each offering unique burn characteristics for your home. Cotton is the most traditional choice, but modern makers often experiment with wood or cored varieties to achieve specific aesthetic and functional goals.
Popular Wick Categories for Professional Results
- Flat Braided Cotton: These are the most common candle wick types, featuring a self-trimming design that curls into the flame to burn off excess fiber.
- Wooden Wicks: Known for their soothing crackling sound, these wicks provide a wide, horizontal flame that is ideal for soy wax and luxury decor.
- Cored Wicks: These utilize a central material like paper, zinc, or tin to provide extra rigidity, ensuring the candle wick stays upright in deep melt pools.
Adding these different wicks requires you to test them against your specific fragrance load and dye concentration to ensure compatibility. If the fragrance oil is particularly heavy, you may need to upsize your candle wick to prevent the flame from sputtering out due to the increased resistance of the fuel.
The addition of a zinc core can be particularly helpful for large container candles where the weight of the melted wax might otherwise cause a standard cotton wick to lean and extinguish itself. These small details ensure that your handmade candles perform with the same reliability as professional boutique brands in 2026.
Step-by-Step Wicking and Centering Protocols
To achieve a professional look for your project, you must secure the candle wick firmly to the bottom of the container before pouring any liquid wax. The most common method involves using a wick sticker or a dab of high-heat hot glue to ensure the metal tab remains centered throughout the entire cooling process.
| Preparation Phase | Action Required | Expected Result |
| Placement | Center the wick tab | Balanced and even burn |
| Tensioning | Use a centering tool | Vertical and straight wick |
| Pouring | Pour wax at target temp | Smooth surface and no gaps |
Once the candle wick is secured, use a specialized centering tool or even a simple clothespin to keep the top of the wick perfectly upright. Carefully pour your wax around the wick, ensuring you do not disturb the placement, which could lead to an uneven melt pool during the first burn at home.
Place your finished candles in a draft-free environment to cure for at least forty-eight hours, though soy wax often requires a longer cure time for the best scent throw. If the candle wick is not perfectly vertical, the flame will melt one side of the wax faster than the other, compromising the visual and functional quality of your work.
Learning how to “double-wick” a larger container involves placing two smaller candle wick strands side-by-side to ensure a complete melt pool in wide jars. Taking the time to calculate the spacing correctly can help you identify the best way to distribute the heat for a safe and beautiful flame for your guests.
Safety Standards for Burning and Maintenance
While a candle wick is a small component, its performance is a critical factor in the overall safety of your home environment during use. You must always ensure that the wick is lead-free, a standard that has been strictly enforced in the United States since 2003 to protect your family’s health.
Important Wick Safety Strategy Tips
- Tab Height: Use a wick tab with a 10mm neck to ensure the flame automatically extinguishes before reaching the very bottom of the glass.
- Melt Pool Depth: Ensure the liquid pool does not exceed 1/4 inch in depth to prevent the candle wick from becoming unstable or “drowning.”
- Burn Time: Stick to a maximum burn time of four hours to prevent the container from overheating and to keep the candle wick at a manageable size.
The wick should be checked periodically for any debris, such as match heads or trimmed wick bits, which can act as secondary wicks and cause the flame to flare up. This small adjustment ensures that your candle wick remains the sole source of combustion, keeping the fire contained and controlled within the vessel for you.
Always inform those in your home about the importance of never leaving a burning candle unattended, regardless of how stable the candle wick appears to be. Providing a safe, flat surface away from curtains or drafts can help you feel grounded and secure while you enjoy the atmospheric glow of your handmade creation.
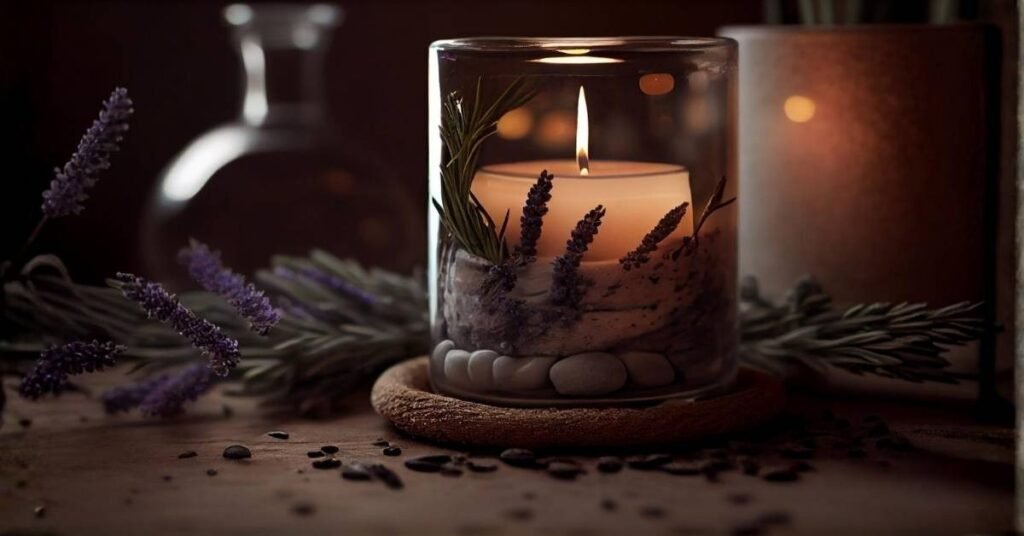
Optimizing Performance for Fragrance Throw
For a truly aromatic experience, you can choose a candle wick that is specifically designed to handle the high oil content of scented candles. This turns a simple light source into a functional tool for aromatherapy that fills your entire room with your favorite seasonal scents effectively.
Using a “HTP” or “CD” series candle wick provides a robust burn that can effectively vaporize the fragrance molecules trapped within the wax. You can arrange different sizes of these wicks in a test batch to see which one provides the strongest “hot throw” without producing black smoke or soot in your home.
| Wick Series | Best Wax Type | Key Characteristic |
| CD Series | Soy and paraffin | Versatile and soot-resistant |
| ECO Series | Natural waxes | High-stability cotton core |
| LX Series | Paraffin | Reduces carbon buildup |
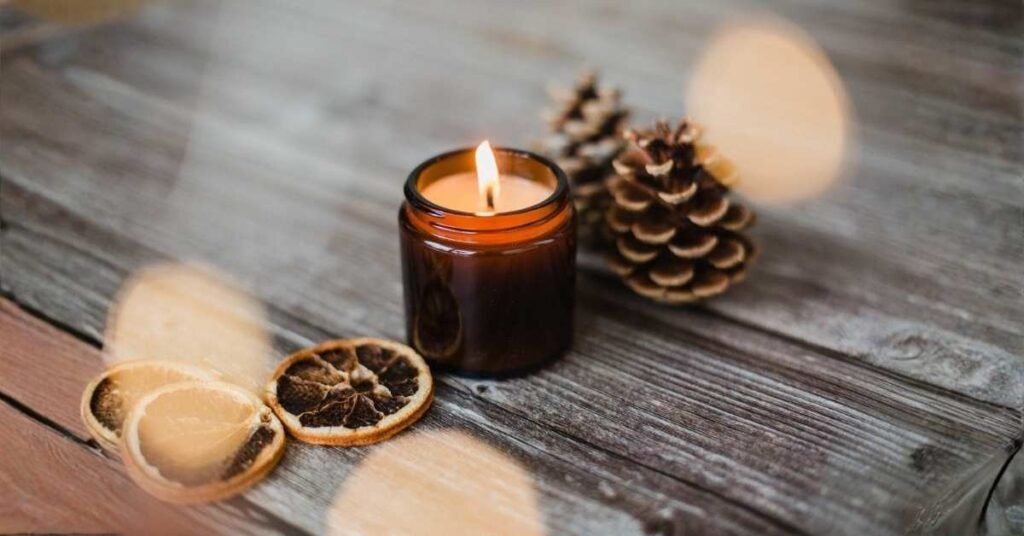
Incorporating a wooden candle wick into your luxury line is an excellent way to introduce a sensory element that combines sound and scent for a spa-like vibe. The presence of a crackling flame adds a dynamic element to the room that makes the environment feel more cozy and inviting for you and your family.
If you are working with a very dense wax like beeswax, consider a square-braided candle wick which is designed to prevent clogging from the natural pollen and propolis. This personal touch ensures your natural candles burn consistently and adds a layer of professional quality to your craft and your hobby today.
Technical Tips for Burn Testing and Data
The secret to a perfect candle wick is a commitment to rigorous burn testing before you ever sell or gift your finished products to others. If you utilize a “wick log” to record the burn time, flame height, and melt pool diameter, you provide a sensory layer of data that ensures long-term quality for your brand.
Digital wick guides have a high impact on the success of beginner makers, offering a starting point for different wax and jar combinations. However, many experts prefer to rely on their own physical test results, so the choice depends on your specific level of experience and your willingness to experiment with the craft.
Using a wide variety of wick sizes during the testing phase will create a more complex and professional understanding of how your wax reacts to heat. A single, well-documented test will provide a more concentrated and dramatic effect that is perfect for perfecting your signature candle line spent working at home.
Be mindful of the room temperature during your tests, as a very cold room can slow down the formation of the melt pool and give you a false reading on your candle wick. Keeping your testing environment consistent is the best way to maintain a reliable and professional standard for every candle you produce for your friends.
Conclusion
In conclusion, the candle wick is a marvelous fusion of physics and artistry that serves as the heart of every successful candle-making project. By following the proper sizing and maintenance steps, you can create a light source that is as safe as it is visually and aromatically stunning.
The ability to customize your burn with a unique candle wick choice makes the process of candle making a versatile tool for any home artisan. Whether it is a simple cotton strand or an elaborate wooden design, the results are always satisfying and deeply rewarding for your creative spirit.
As you continue to explore the world of artisanal lighting, these wicks stand out as timeless and practical additions to your creative repertoire. They encourage focus, safety, and a deeper appreciation for the simple joy of creating a warm and welcoming atmosphere with your own hands today.
Practice your centering and trimming techniques to ensure your next project features a perfectly executed and beautiful display of light for your living space. With a little bit of effort, you can master the science of the candle wick and bring a touch of handmade magic to every room.
Frequently Asked Questions
How to get candle wick results easily?
To achieve the best results, combined methods of checking manufacturer wick charts and performing a four-hour burn test work best for your specific wax blend. This approach ensures that your candle wick remains the correct size for your container while providing a continuous and clean flame for the duration of the burn.
Why is my candle wick mushrooming?
Mushrooming occurs when the candle wick is drawing up more wax than the flame can efficiently burn, leading to a buildup of carbon at the tip. Trimming the wick to 1/4 inch before each burn and ensuring you have the correct wick size for your fragrance load will significantly reduce this common issue today.
Can I use a wooden wick in soy wax?
Yes, you can prepare and use a wooden candle wick in soy wax, which often results in a beautiful, wide melt pool and a soothing crackling sound. Many makers prefer this combination for luxury candles because the wooden wick provides enough heat to effectively melt the higher melting point of natural soy waxes.
What happens if my wick is off-center?
If your candle wick is off-center, the flame will melt the wax unevenly, causing one side of the glass to become dangerously hot while the other side remains unburned. This leads to tunneling and a waste of wax, making it essential to use a centering tool to ensure a professional and safe burn for your home.
How do I know if the wick is the right size?
A candle wick is the correct size if it creates a full melt pool that is about 1/4 inch deep within four hours without producing smoke or soot. If the flame is too large or the glass is too hot to touch, the wick is likely too large and should be downsized for a safer and more professional result today.
With over 5 years of hands-on experience in the creative arts, I have turned my passion for DIY and home styling into a mission to inspire others. As the lead creator at UnboxTreats, I specialize in the fine details of paper crafting, yarn work, and artisanal candle making. I test every craft and decor trend to ensure you get only the most reliable and creative advice for your home.
")

")


")
