Discover how sand candles can bring a coastal vibe to your home through this expert guide on making unique hand-poured and granulated wax designs.
The Natural Charm of Coastal Sand Candles
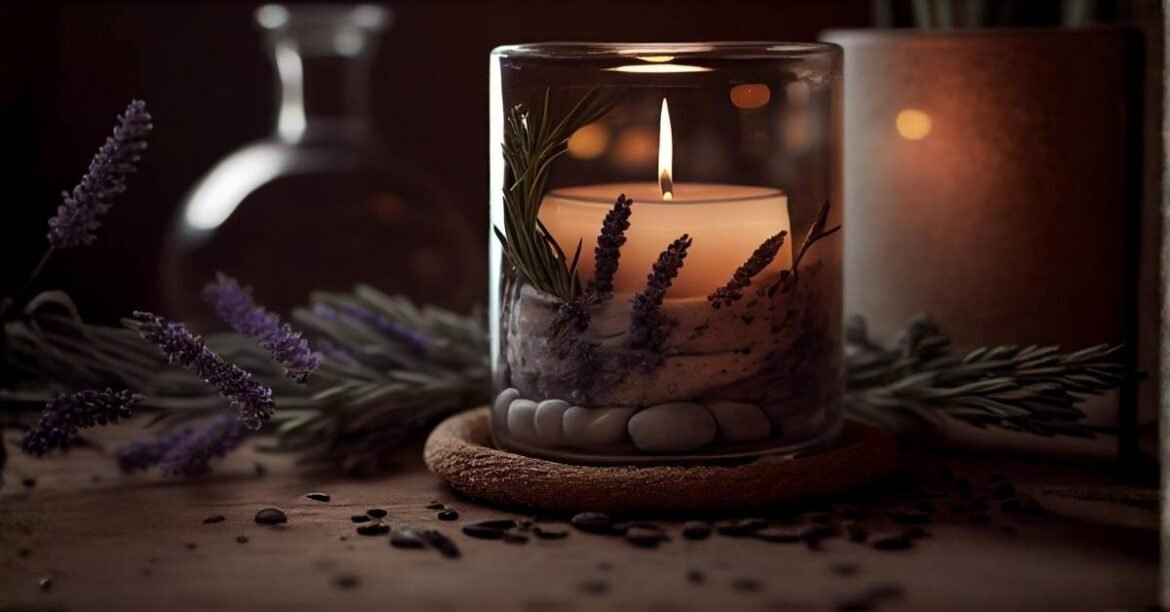
Sand candles are a fascinating type of home decor that combines the organic beauty of the beach with the warmth of a flickering flame. There are two main styles of these lights including traditional casted wax shapes and the modern trend of granulated candle sand. Traditional versions are made by pouring hot melted wax directly into a damp sand mold created at the beach or in a small bucket. This process results in a textured outer crust that looks exactly like a natural stone or a piece of coastal rock.
The modern version of sand candles uses tiny beads of wax that look like real sand and can be poured into any glass container easily. This “candle sand” is very popular because it allows you to create a new candle in just a few seconds without any melting or mess. You simply pour the wax granules into a jar, insert a pre-waxed wick, and light it to enjoy a clean and steady glow. It is an excellent choice for people who want the beauty of a candle without the long preparation time.
Choosing to make or use sand candles provides a relaxing mental break and allows you to bring a touch of the ocean into your living room. The rough texture of the sand-coated wax creates a beautiful contrast against smooth modern furniture and glass surfaces in a contemporary house. Many hobbyists find that crafting these items at the beach is a wonderful way to connect with nature and create a lasting memory. It is a productive and very creative hobby that results in a high-quality physical object for your home.
The versatility of sand candles makes them suitable for every style of interior design from rustic cottage to sleek and minimalist urban apartments today. You can use different types of sand from various locations to create a personal collection of travel memories that light up your space. Because the materials are relatively cheap and easy to find, it is a great project for families to do together during a summer vacation. This blend of art and nature is what makes the craft so popular among DIY enthusiasts and professional decorators.

How to Create Traditional Molded Sand Candles
Making traditional sand candles requires a bit of preparation and a steady hand to achieve the best and most professional-looking results for your home. You will need a container filled with clean, damp sand, a double boiler for melting wax, and a high-quality cotton wick. Start by pressing a shape like a bowl or a large shell into the wet sand to create a hollow mold for the liquid. This dampness is crucial because it prevents the hot wax from soaking too deep into the surrounding sand grains.
| Step Number | Action Required | Tool Needed | Detail Tip |
| Step 1 | Prepare the Sand | Large Bucket | Use damp, not wet sand |
| Step 2 | Create the Mold | Shape or Bowl | Press firmly for detail |
| Step 3 | Melt the Wax | Double Boiler | Heat to 180 Degrees |
| Step 4 | Pour and Set | Pouring Pitcher | Pour slowly and evenly |
Once your mold is ready, melt your paraffin or soy wax until it reaches a temperature of about eighty degrees Celsius for the best flow. You can add a few drops of ocean-scented fragrance oil to the melted wax to enhance the coastal theme of your finished sand candles. Carefully pour the wax into the center of the sand hole while holding the wick in a steady upright position for safety. Let the wax cool completely for several hours before gently digging the candle out of its sandy bed.
When you lift the sand candles out of the bucket, you will see a thick layer of sand permanently embedded into the outer surface of the wax. You can use a soft brush to remove any loose grains and reveal the beautiful natural texture underneath the crusty outer layer. This unique finish is what sets these lights apart from standard store-bought pillars or jars found in common retail shops. It is a one-of-a-kind piece of art that reflects the specific sand and shape you chose during the creative process.
For a more advanced look, you can experiment with “layered” sand candles by using different colors of wax or various types of coastal sand in one mold. Pouring a small amount of dark wax followed by a lighter shade can create a stunning sunset effect inside the sandy outer shell. You can also press small seashells or colorful pebbles into the sides of the mold before pouring the wax to add more detail. These small touches make your handmade creations look like expensive boutique items found in high-end coastal gift shops.
Using Granulated Wax for Easy Sand Candles
The rise of granulated wax has made creating sand candles easier than ever for busy people who love the look of custom lighting. This product consists of tiny, dust-like particles of high-quality wax that behave exactly like real sand when poured into a glass jar or bowl. You do not need any heat, stove, or messy equipment to build a beautiful and functional candle for your dining table or bathroom. It is the perfect solution for last-minute event decorations or a quick home refresh on a small budget.
| Feature | Traditional Sand | Granulated Sand | Benefit |
| Heat Needed | Yes (High) | No (None) | Safety and Speed |
| Containers | Sand Molds | Glass Jars | Clean and Reusable |
| Clean Up | Moderate | Very Easy | No Wax Spills |
| Skill Level | Intermediate | Beginner | Great for Kids |
To use this type of sand candles wax, simply fill a heat-resistant glass container with the granules until it reaches your desired height and look. You can create beautiful patterns by layering different colors of the wax sand to match your specific room decor or a holiday theme. Once the jar is full, insert a pre-cut wick into the center, leaving about half an inch of the wick visible at the top. The wax will melt around the wick as it burns, while the rest of the sand remains perfectly loose and dry.
One of the best benefits of granulated sand candles is that they are completely refillable and very easy to maintain over a long period. After the wick has burned down, you can simply remove the small clump of melted wax and replace the wick to start over. This makes them a more sustainable choice than traditional pillars that often leave behind a lot of wasted wax at the bottom. You can keep the same glass jar for years while simply changing the color of the wax sand to suit the season.
These modern sand candles are also very popular for wedding centerpieces and large events because they are so fast to assemble for many tables. You can buy the wax granules in bulk and create dozens of elegant lights in a fraction of the time it would take to pour them. Adding a few decorative elements like starfish or pieces of driftwood around the glass jar can complete the coastal aesthetic for your guests. It is a professional and very stylish way to handle large-scale decor without the stress of traditional candle making.
Safety and Maintenance Tips for Sand Art
Safety is the most important thing to remember when burning sand candles in any room of your modern and stylish home today. For molded sand versions, ensure the candle is sitting on a stable and heat-resistant tray to catch any potential wax drips or loose sand. The sandy crust can sometimes become brittle, so it is vital to handle these pieces gently to avoid breaking the outer decorative layer. Always keep the flame away from drafts, curtains, or anything else that might easily catch fire and cause a problem.
Maintaining your sand candles involves keeping the wax pool clean and the wick trimmed to about one-quarter inch before every single light. For granulated versions, make sure the wick is always positioned at least two inches away from the glass walls to prevent cracking from heat. If the glass container becomes dusty, you can wipe the outside with a soft damp cloth to keep the display looking bright. Keeping the wax clear of any debris like burnt matches will ensure a much cleaner and safer burn for everyone.
If you are using sand candles outdoors on a patio or a balcony, consider placing them inside a tall glass hurricane or a metal lantern. This protects the flame from the wind and ensures that the loose wax granules do not blow away if you are using the sand-style wax. It also adds an extra layer of safety if pets or small children are playing nearby during your summer evening gatherings. Outdoor lighting should always be supervised to prevent accidents and ensure a peaceful and very happy atmosphere for your guests.
Storing your extra sand candles materials properly is also key to maintaining the quality of the wax and the clarity of the colors. Keep granulated wax in a cool, dry place inside a sealed bag to prevent it from clumping together due to high humidity or heat. Traditional sand-casted candles should be wrapped in soft tissue paper and stored in a sturdy box to protect the textured outer crust from chipping. Proper storage ensures that your beautiful coastal decorations are ready to light up your home whenever you need a touch of the beach.
Conclusion
In conclusion, sand candles are a wonderful way to express your creativity and bring a unique coastal vibe into your living space or office. Whether you choose the traditional molded method or the modern granulated wax sand, the results are always beautiful and very impressive to see. They provide a unique blend of natural texture and functional lighting that standard candles simply cannot match in a modern home. By following these expert tips, you can create a stunning collection of beach-inspired art that will last for a long time.
Investing your time in making sand candles is a fulfilling experience that connects you to the beauty of the natural world and the ocean. It is an affordable and accessible hobby that allows for a high degree of personal style and creative innovation in your decor. These pieces also make fantastic gifts for friends and family members who love the beach and appreciate handmade craftsmanship and high-quality art. Start your first sand project today and experience the magic of coastal lighting and the warmth of a handmade flame.

Frequently Asked Questions
How long do traditional sand candles usually burn?
Most standard sand candles will burn for about four to six hours per inch of diameter, depending on the type of wax used. The thick sand crust acts as a natural insulator, which can sometimes help the candle burn a little slower than a regular pillar.
Is it safe to use real beach sand for sand candles?
Yes, real beach sand is excellent for making sand candles as long as it is cleaned of any organic debris like seaweed or small wood pieces. You should always ensure the sand is damp when pouring hot wax to prevent the liquid from soaking too far into the bucket.
Can I add scent to granulated sand candles?
Most granulated wax for sand candles comes pre-scented, but you can add a few drops of fragrance oil to the top layer if you want a stronger smell. Make sure the oil is specifically designed for candles to ensure it burns safely and does not create excessive smoke or soot.
What is the best way to clean up spilled candle sand?
If you spill the loose wax granules from your sand candles, the best way to clean them up is to use a standard vacuum cleaner or a broom. Because the wax is not melted, it will not stain your carpet or your hard floors like traditional liquid wax would.
Can I melt down the sand crust after the candle is finished?
It is not recommended to melt down the outer crust of sand candles because the high sand content will ruin your clean wax and your melting pot. It is much better to discard the old sandy shell and start fresh with new materials for your next coastal project.
Visit our other articles also;
")

")


")
