Discover the art of candle drawing to improve your sketching skills today. Learn how to capture glowing flames, melting wax, and realistic shadows in your artwork.
Introduction
Creating a beautiful candle drawing is a wonderful way for artists to practice lighting. You can transform a simple cylinder into a glowing masterpiece with just a few pencils. These projects use basic tools like graphite, paper, and a soft eraser for highlights.
The appeal of these sketches lies in their cozy atmosphere and rhythmic shading techniques. Beginners love the feeling of making a flat circle look like a 3D flickering flame. Experts also enjoy these tasks for mastering the subtle gradients of light and dark.
Starting a new art project is exciting when you have a clear and helpful guide. You do not need complex skills to make something truly artistic for your home gallery. Just grab your sketchbook and some sharp pencils to begin your creative journey.
The Many Benefits of Mastering Candle Drawing
Learning how to create a candle drawing helps you understand how light travels. The way the flame glows reveals how highlights and mid-tones interact on a curved surface. It is a productive way to spend a quiet afternoon at your desk.
Drawing also improves your hand-eye coordination and observational skills quite significantly. As you follow the drips of wax, you train your eyes to see tiny details. This practice is great for artists of all different age groups and levels.
Creating your own art gives you a huge sense of deep personal pride. You can frame a candle drawing that you made entirely with your own hands. It feels much more special than buying a generic print from a big store.
Handmade sketches are always cherished by friends and dear family members alike. You can customize the candle holders to match the decor of your loved ones. Using candle drawing techniques makes personalized gift-giving very simple and very sweet.
This hobby is also very affordable if you start with simple art supplies. You only need one pencil and a single sheet of white drawing paper. It is a low-cost way to create high-quality illustrations for yourself and others.
Finally, sketching connects you to a large community of fellow creative makers online. You can share your progress and learn new shading tips from other people today. It is a social activity that brings many creative minds together.
Essential Supplies for Every Drawing Task
To begin working on a candle drawing, you need a few basic art items. Choosing the right pencil grade is the most important step for any new artist. Look for a range from 2B to 6B to create deep, rich shadows.
Soft blending stumps or tissues are best for making the wax look smooth. They help you blend the graphite so there are no harsh or jagged lines. This ensures your candle drawing has a realistic and polished look.
A kneaded eraser and a pencil sharpener are also vital for fine details. You will need to lift lead to create the brightest part of the flame. Keeping these tools in a small box helps you stay organized.
| Tool Name | Purpose in Drawing | Best Feature |
| Graphite Pencils | Creates the lines and shades of the candle body | Various Hardness |
| Blending Stump | Smooths out the transitions between light and dark | Precise Control |
| Kneaded Eraser | Lifts pigment to create glowing highlights and wax | Flexible Shape |
| Drawing Paper | Provides a sturdy surface for heavy pencil shading | Fine Texture |
| Ruler | Helps in sketching perfectly straight candle sides | Accurate Edges |
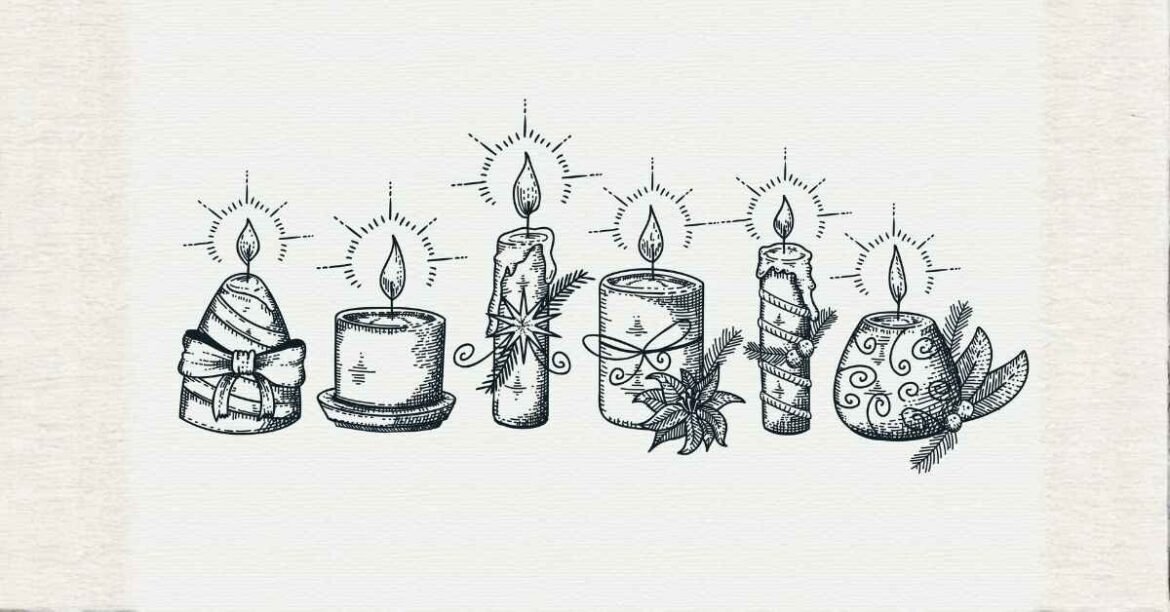
Top Candle Drawing Styles for New Beginners
A simple pillar candle drawing is the best first project for anyone. You only need to know how to draw a cylinder to start this piece. It helps you practice keeping your vertical lines straight across the whole page.
Taper candles are another great choice for practicing your new sketching skills. They are long and thin, so you can focus on the elegant curves. Using a light touch makes them look very delicate and realistic on paper.
Birthday candles are stylish and use very little space to complete quickly. You can experiment with different patterns like stripes or spiral wax designs today. These candle drawing ideas are perfect for quick and satisfying results.
- Pillar: A thick and sturdy candle that shows great texture.
- Taper: A long, elegant style often seen in fancy holders.
- Votive: A small, round candle that fits in glass jars.
- Melting: A dynamic sketch showing wax dripping down the sides.
- Lantern: A candle placed inside a decorative metal or glass box.
How to Start Your First Realistic Sketch
To start your sketch, you must first lightly outline the main body shape. Most candle drawing tutorials suggest starting with an oval for the top part. This creates the correct perspective for a round object sitting on a table.
Draw the wick as a small, slightly curved line in the center. This creates a focal point that will eventually hold the bright flickering flame. It is the easiest way to build your confidence with basic shapes.
When you reach the shading stage, start from the edges and move inward. This secures the form so the candle looks round and not flat later. Now you have a basic form to add glowing light to.
Understanding Light and Shadow in Art
The flame is the foundation of all light in a candle drawing. It creates a bright area at the top that fades into the wax. Most beginners start here because the glow is very easy to visualize.
The core shadow is the opposite of the light and adds deep dimension. When you combine both, you can create a realistic 3D look for your art. This is what makes a candle drawing pop off the flat paper.
Reflected light is another useful technique created by light bouncing off the table. It makes the bottom edge of the candle look slightly lighter than the middle. Learning these basics opens up a world of creative possibilities for you.
Mastering the Glowing Flame Effect
The glow is created by leaving the center of the flame white. It results in a high-contrast look that mimics a real burning fire. This makes it ideal for dark or moody background sketches today.
It is a very forgiving technique for those who make small mistakes. The soft edges of the glow hide uneven pencil strokes or smudges very well. You can focus on the mood without worrying about the small details.
Many candle drawing pieces rely on this glow for their classic look. It looks modern and clean when you use high-quality heavy drawing paper. It is a timeless style that never goes out of fashion.
Tips for Success with Your First Sketch
Always read through your candle drawing guide before you start the work. Make sure you understand where the light source is coming from on the page. This prevents confusion once you have the pencil in your hand.
Check your proportions by holding your paper up to a real mirror. This ensures your finished item looks balanced and not tilted to one side. It only takes a few seconds but saves a lot of time.
Do not be afraid to erase your work if you see errors. Redrawing lines and trying again is a normal part of the art process. It is how every expert artist learned to master their craft perfectly.
Fixing Common Sketching Mistakes Fast
If your shadows look too dark, use an eraser to lift some lead. This is a quick fix that keeps your candle drawing from looking muddy. Every artist keeps a soft eraser in their kit for this reason.
If your edges look fuzzy, try using a sharper pencil for outlines. This creates a neat and professional edge that looks very clean today. It is a simple trick found in many candle drawing lessons.
Keep your hand light so the lead does not indent the paper. Hard pressure can make errors permanent and ruin the texture of the page. Relax your shoulders and enjoy the process of creating your art.
Advanced Ideas for Basic Candle Sketches
Once you feel comfortable, try adding a decorative holder to your projects. This is an easy way to make a candle drawing look complex. Just sketch a brass or glass base at the bottom of the cylinder.
You can also try drawing with charcoal for a very dark background. This makes the flame glow much brighter than using light graphite pencils today. It creates a trendy and dramatic look that is very popular.
Adding smoke at the top of a blown-out candle is another fun idea. It adds movement and a touch of mystery to your finished work. Small details like this make your candle drawing stand out from others.
Drawing Realistic Wax Drips Correctly
When the candle “burns,” you must add drips of melting wax. Try to do this with organic and irregular shapes for a natural look. This makes the candle drawing feel like it is actually in motion.
Layer your shading carefully using a sharp pencil at the very end. Follow the path of the drip so the wax looks thick and heavy. This gives your candle drawing a very high-quality and polished finish.
Avoid making all the wax drips the same size or length today. Uniform drips can look fake or stiff against the soft glow of the fire. Proper variety is the best way to keep your work looking real.
Promoting Your New Creative Drawing Hobby
Share photos of your finished candle drawing on your social media. Seeing your progress can inspire your friends to start their own hobby. It is fun to see how much you improve over time.
Join a local art group to meet people who love sketching too. You can swap techniques and get help with any difficult parts today. Learning in a group is often faster and more fun for everyone.
Keep your supplies in a pretty box in your creative studio area. Having your sketchbook nearby makes it easy to draw a few lines. This helps you finish your items much faster than hiding them away.
Organizing Your Art Portfolio
Store your drawings in flat folders to protect them from dust and smudges. Label each folder by the date and the subject of the artwork. You can easily find what you need for future projects this way.
Keep your candle drawing references in a digital folder or tablet. Organizing your inspiration saves you from searching for hours for one link. A tidy workspace leads to a much more creative and happy mind.
Always keep your graphite pencils in a secure and dry place today. Soft lead can sometimes break if the pencils are dropped on the floor. Proper care ensures your tools stay in great condition for many years.
Advanced Textures in Candle Art
Once you know the basics, you can try making glass or metal textures. Drawing a candle inside a jar involves sketching reflections and transparency today. It looks very impressive and adds a lot of depth to your work.
Lace patterns on a candle holder use negative space to create detail. This is perfect for vintage or decorative holiday themed art pieces. These candle drawing tasks require a bit more focus and careful observation.
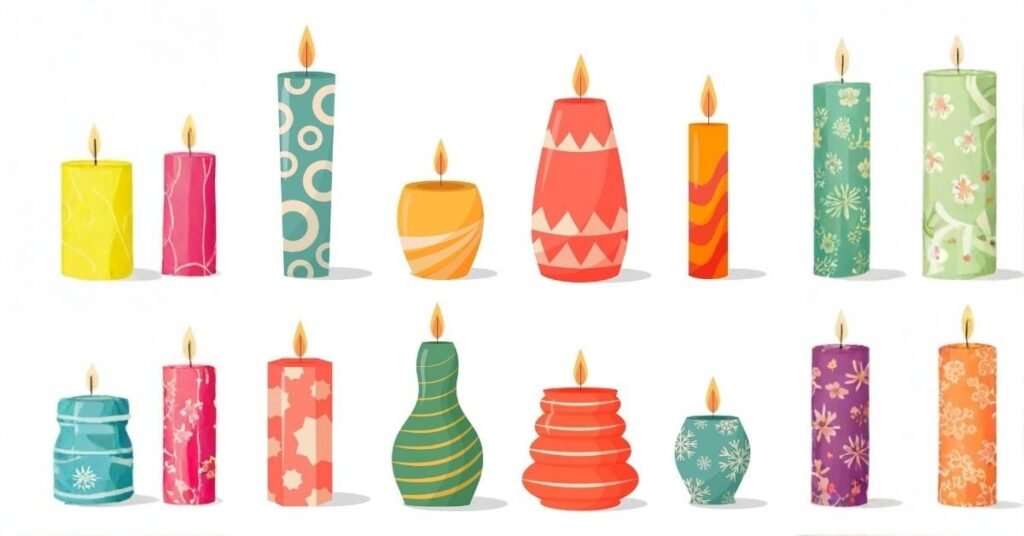
You can also experiment with color by using colored pencils or pastels. This involves blending oranges, yellows, and blues in the flame of the candle. It allows you to create beautiful and vibrant pictures on your paper.
Reading Light Source Diagrams
Many modern candle drawing books use visual light diagrams for students. Each arrow on the page represents where the light hits the object. It is a great way to see how shadows grow and move.
Learn how to shade the side furthest from the light source first. The transition from light to dark should be very smooth and gradual today. This skill makes it much easier to tackle complex and detailed designs.
Using a reference photo can help you keep track of the tiny highlights. This prevents you from guessing where the light should naturally fall in art. It is a simple tool that makes advanced candle drawing enjoyable.
Exploring Different Candle Scenarios
You can sketch a single candle in a dark room for a lonely look. This focus on one subject helps you master the “chiaroscuro” technique today. It is a powerful way to tell a story through a candle drawing.
Try sketching a group of candles of different heights for a still life. This challenges you to manage multiple light sources on one single page. It is a great exercise for building your spatial awareness in art.
You can also draw a candle on a windowsill with the moon outside. This mixes warm interior light with cool blue moonlight in your sketch. These candle drawing compositions are very popular for greeting cards and gifts.
Mastering the Art of Smudging for Smoke
Smudging is a key part of creating realistic smoke in your artwork. Use a very light touch with your finger or a blending stump. This creates a wispy effect that looks like real carbon in the air.
Start with a thin line and slowly pull the graphite upward and out. This mimics the way smoke dissipates into the room after the flame goes out. It adds a professional touch to any candle drawing you create.
Be careful not to over-smudge and make the whole page look gray. You still want to see the white of the paper through the thin smoke. This balance is what makes your candle drawing look truly sophisticated.
Conclusion for Candle Drawing
In conclusion, candle drawing is a gateway to a lifelong creative art hobby. They are easy to follow, relaxing to do, and very rewarding for everyone. You can make beautiful things with just a little time and effort.
Sketching allows you to express your style while mastering the rules of light. It is a skill that grows with you as you try new things. Start with something small and watch your talents bloom every single day.
Grab your pencils today and choose one of these simple shapes to start. You will love the feeling of making something unique with your own hands. Happy sketching as you begin this wonderful and cozy new journey.
FAQ’S
What is the best pencil for a beginner candle drawing?
A 2B or 4B pencil is the best choice for new artists today. They are soft enough to shade but hard enough to draw clean lines.
How do I make the candle flame look like it is glowing?
Keep the center of the flame pure white and shade the edges softly. This contrast makes the center appear much brighter than the rest of the page.
Do I need expensive paper for my candle drawing projects?
No, you can start with any plain white paper you have at home today. As you improve, you might want to try thicker paper for better blending.
How can I prevent my pencil drawing from smudging over time?
You can use a fixative spray once your candle drawing is completely finished. This seals the graphite and prevents it from rubbing off on other pages.
Is candle drawing a good way to learn about perspective?
Yes, drawing the oval top of a candle is a great way to practice. It helps you understand how circles change shape when viewed from an angle.
Can I use colored pencils for my candle drawing sketches?
Absolutely, adding color can make the flame and the wax look very vibrant. Try blending yellows and reds to get a realistic fire effect today.
How long does a typical candle drawing take to finish?
A simple sketch can take about thirty minutes for a new beginner. More detailed pieces with melting wax may take an hour or more to complete.
What should I do if my candle looks too flat and 2D?
Add a darker shadow on one side and a highlight on the other side. This creates the illusion of a round surface that has real volume and weight.
Where can I find more inspiration for my candle drawing ideas?
You can look at real candles in your home or search for photos online. Observing how real light behaves is the best way to learn art.
Visit our other article also;
Gift Ideas for Graduating Kindergarten
")

")


")
